Thank you for joining me this evening for our Halloween & Fall Theme Blog Hop! I am excited to have you here!
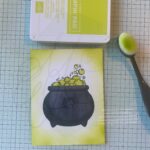
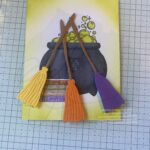
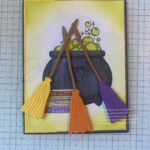
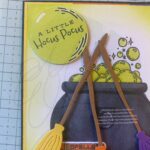
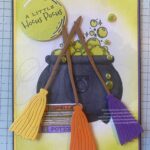
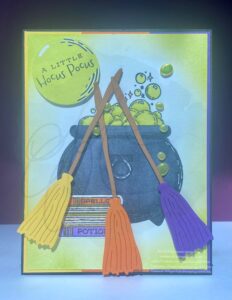
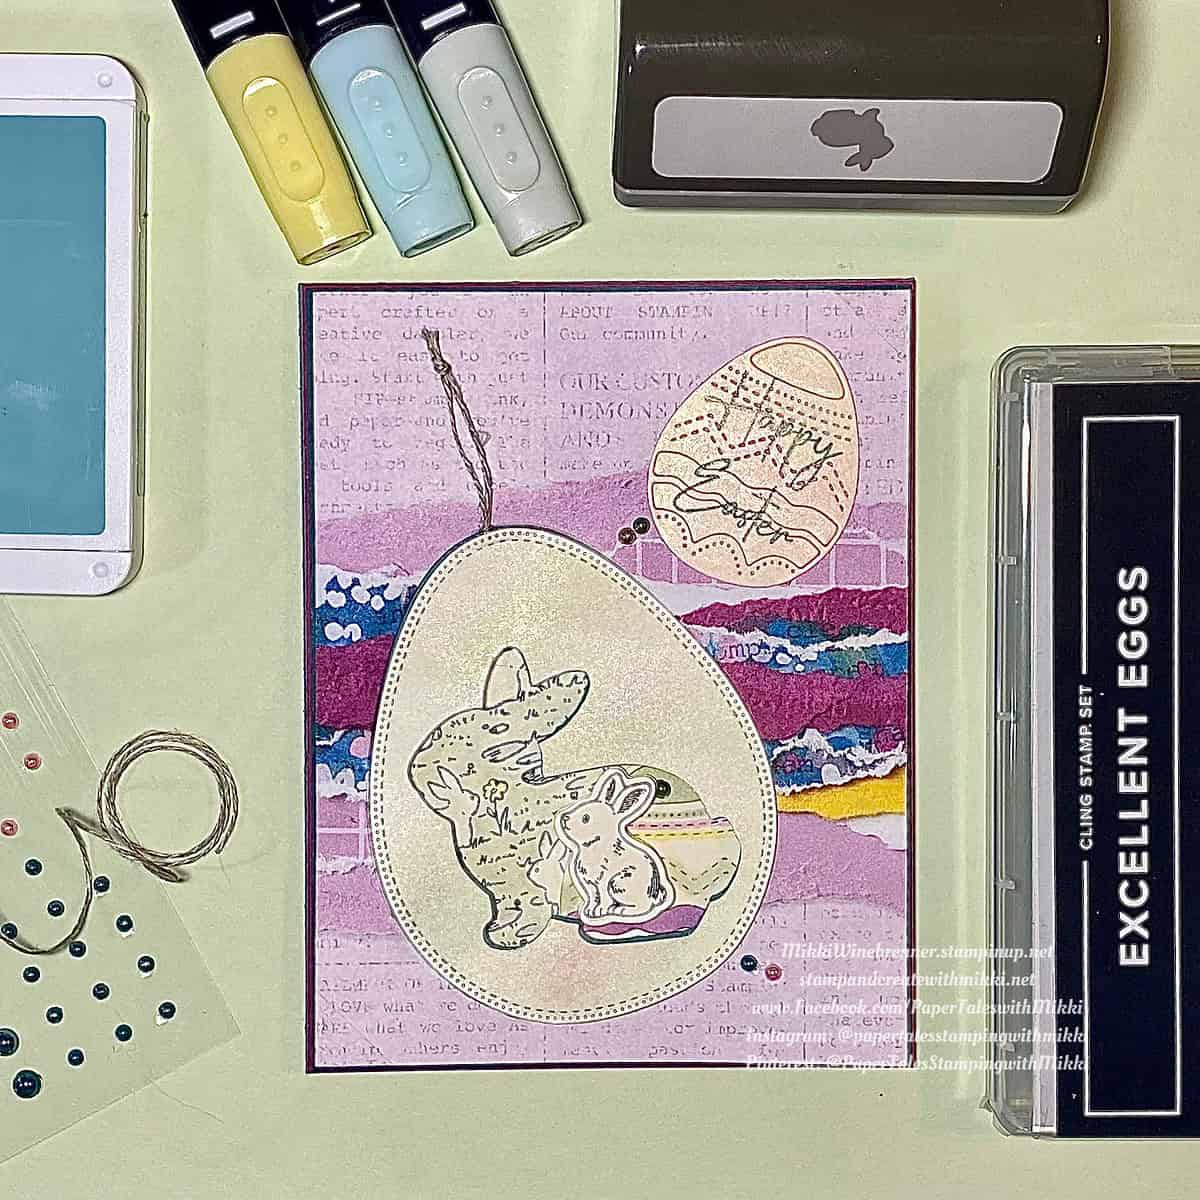
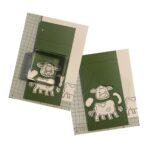
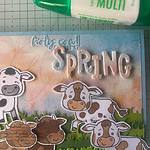
My name is Mikki Winebrenner and today I have a fun and fall card for you using Stampin Up’s Online Exclusive Potions & Spells Bundle.
Halloween in not a favorite of mine. In fact the only reason I create a few cards is for my daughter and sister who LOVE Halloween.
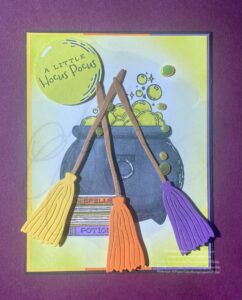
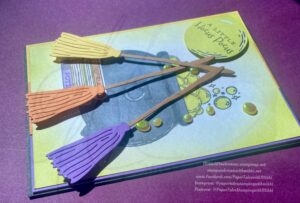
My idea this year was to focus on Hocus Pocus with coloring and ideas. With there being 3 sisters in the movie and myself having 2 sisters it is almost perfect.
Let’s dive in….or fly in I suppose!
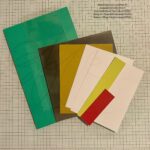
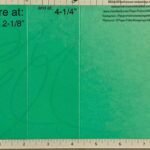
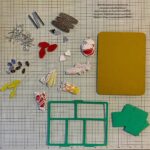
Measurements for the paper are pretty basic:
Basic Black: 5-1/2” x 8-1/2” score at 4-1/4”
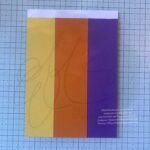
Daffodil Delight, Pumpkin Pie and Gorgeous Grape: 1-1/2” x 5-3/8”, plus scrap pieces for the brooms.
Pecan Pie: Scrap piece for boom handles
Basic White: 4” x 5-1/4” (x2), scrap piece for books
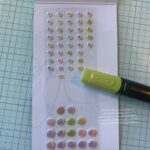
Lemon Lime Twist: 2” x 2”
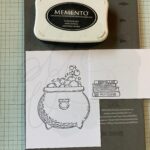
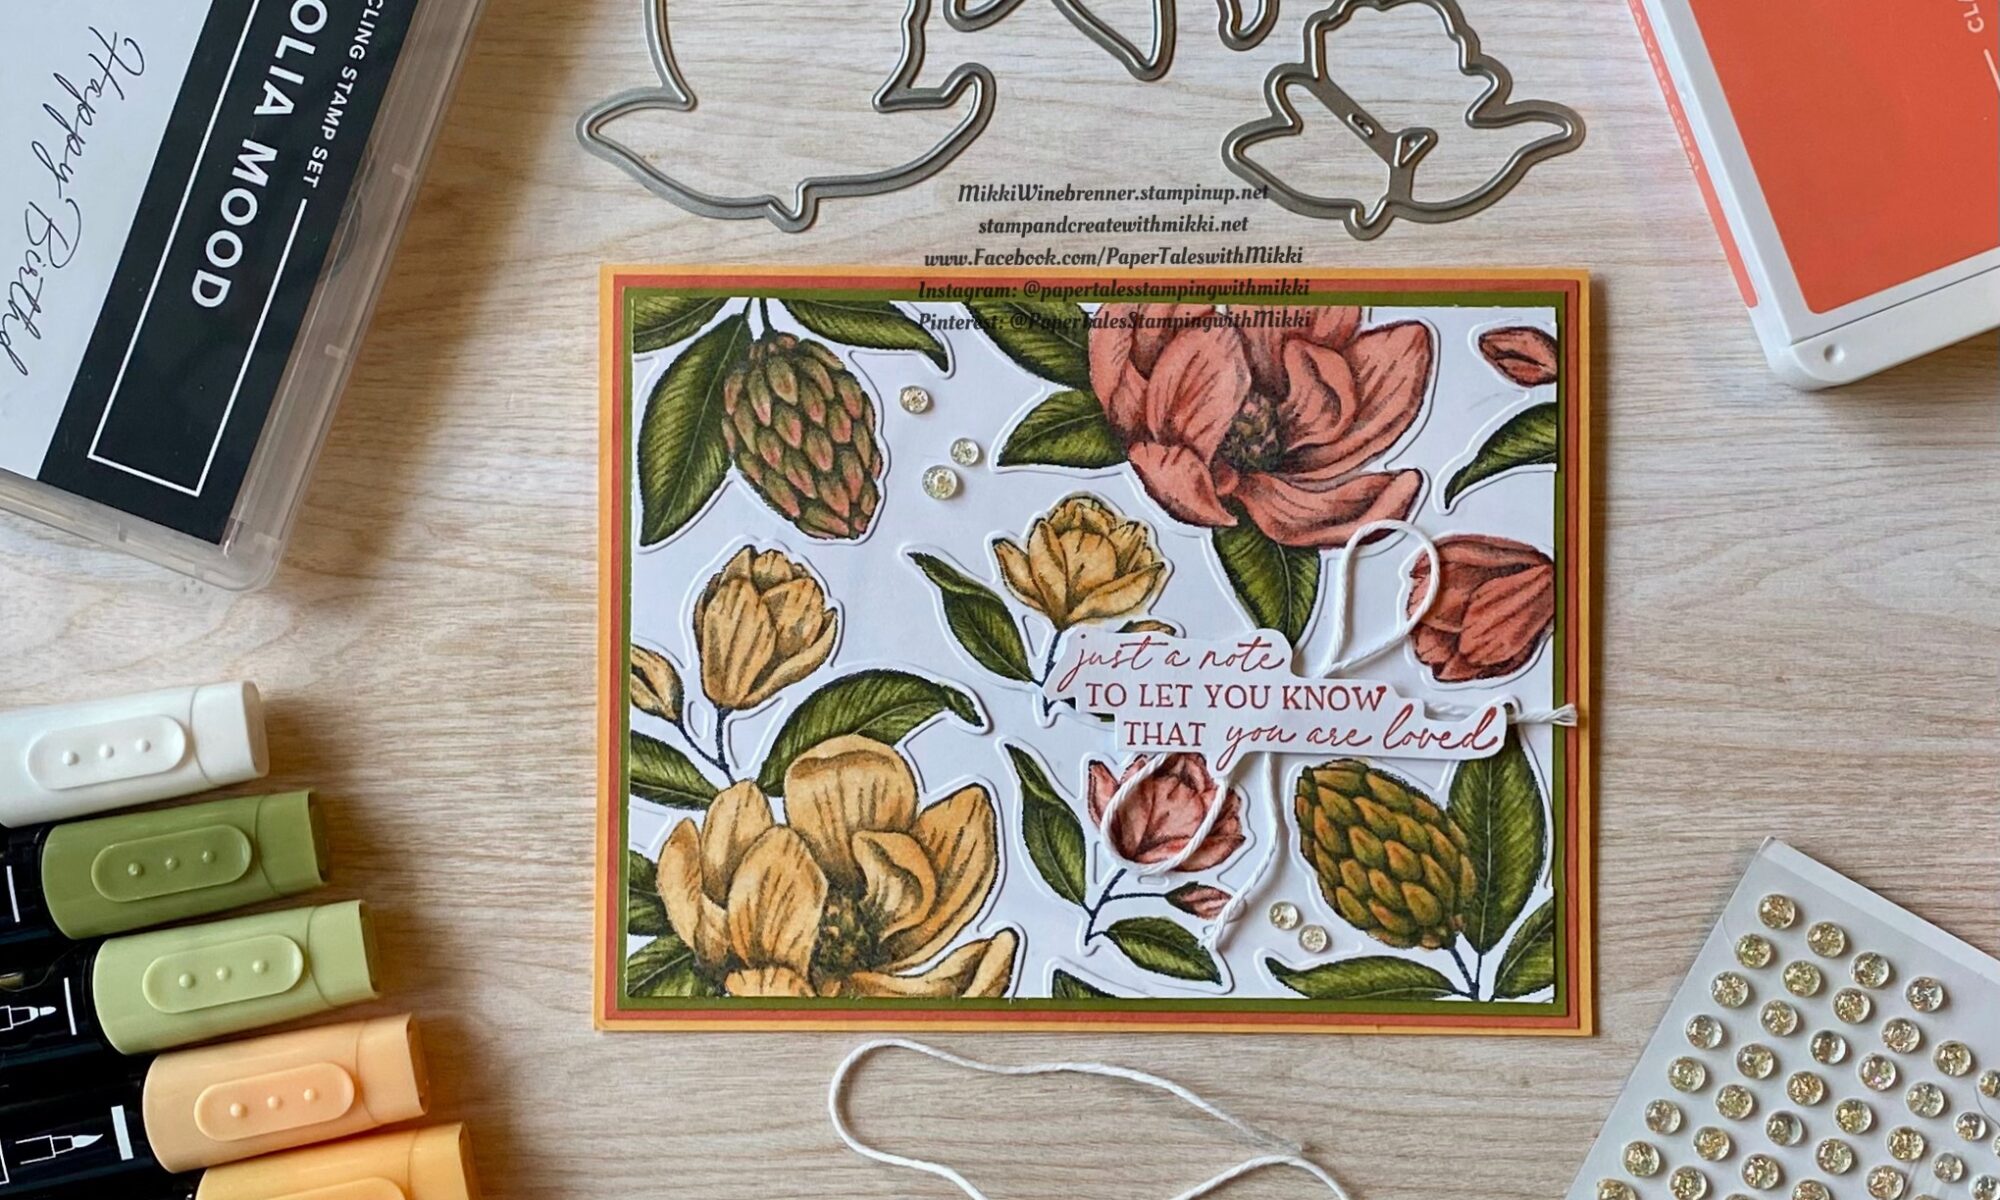
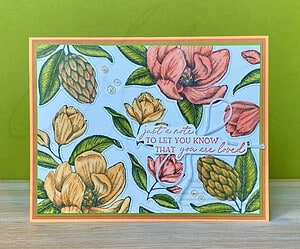
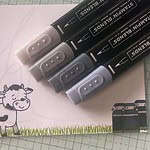
Ink colors that I used in this one are: Memento Tuxedo Black and Lemon Lime Twist Stamp Pads. Pumpkin Pie, Daffodil Delight, Highland Heather, Basic Black and Lemon Lime Twist Stampin Blends Combo Packs where also used.
You will also need a small blending brush and 1-1/2” circle punch – if you don’t have one that’s fine, you can adjust the size as you need.
I also used White Gelly Roll Pen to add some highlights.
THERE IS A FULL LIST OF PRODUCTS BELOW WITH LINKS AND PRODUCT NUMBERS.

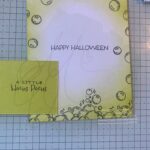


Attach the final Basic White piece to the inside, stamp your envelope ( forgot to grab pictures of those steps!) and your all done!
I hope this cards gives you a little fun Halloween inspiration! I’ve enjoyed creating this one for all of you.
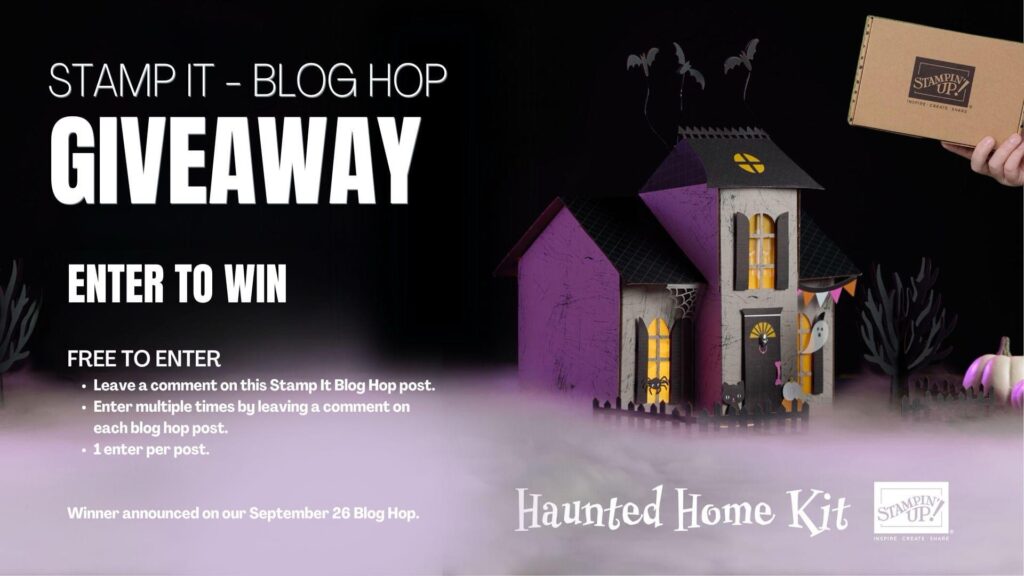
Please make sure you leave a comment to be entered to win Stampin’ Up Circus Celebration Kit!
Visit each of the blogs on this hop and comment on them as well for more chances to win!!

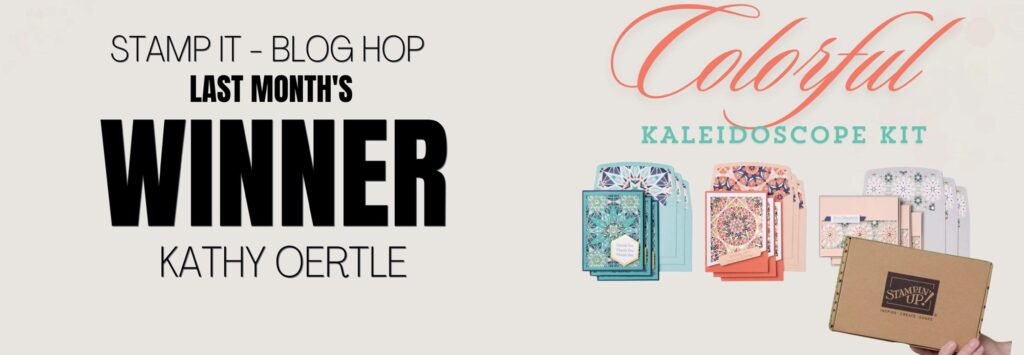
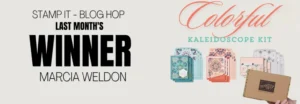
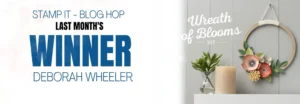
Congratulations to last months winner!!

Head on over to the next blog by clicking “Next Blog” below to find more Halloween & Fall Themed card creations!
Happy Hopping!!
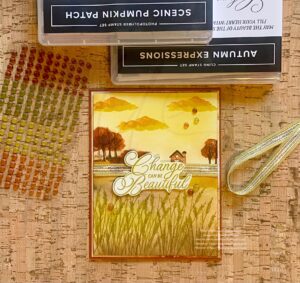
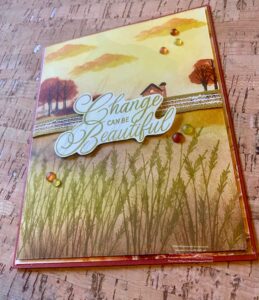
Product List


")


Ink
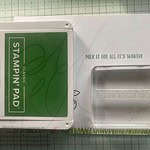
- Lemon Lime Twist Classic Stampin’ Pad [144086]
- Tuxedo Black Memento Ink Pad [132708]
- Basic Black Stampin’ Write Marker [100082]
Card Stock
- Basic Black 8-1/2″ X 11″ Cardstock [121045]
- Pumpkin Pie 8-1/2″ X 11″ Cardstock [105117]
- Gorgeous Grape 8-1/2″ X 11″ Cardstock [146987]
- Daffodil Delight 8-1/2″ X 11″ Cardstock [119683]
- Lemon Lime Twist 8-1/2″ X 11″ Cardstock [144245]
Tools & Adhesive
- Multipurpose Liquid Glue [110755]
- Paper Snips [103579]
- Clear Block Bundle [118491]
- Bone Folder [102300]
Ribbon & Trim


")


 Designer Series Paper")
")


")

 Polka Dot Trim")


 Foil Sheets")


")


 DOWNLOADABLE PDF
")


")


")
 Designer Series Paper")


")
 Designer Series Paper")


")

 Circle Punch")


 Designer Series Paper")
")
 Bordered Ribbon")