
Hello everyone! I am terribly sorry to have missed everyone last week at the Easter Blog Hop! We had an emergency with my son and spent most of the day at the hospital 😔 He is doing better now and I am finally able to get this amazing card up for you all!
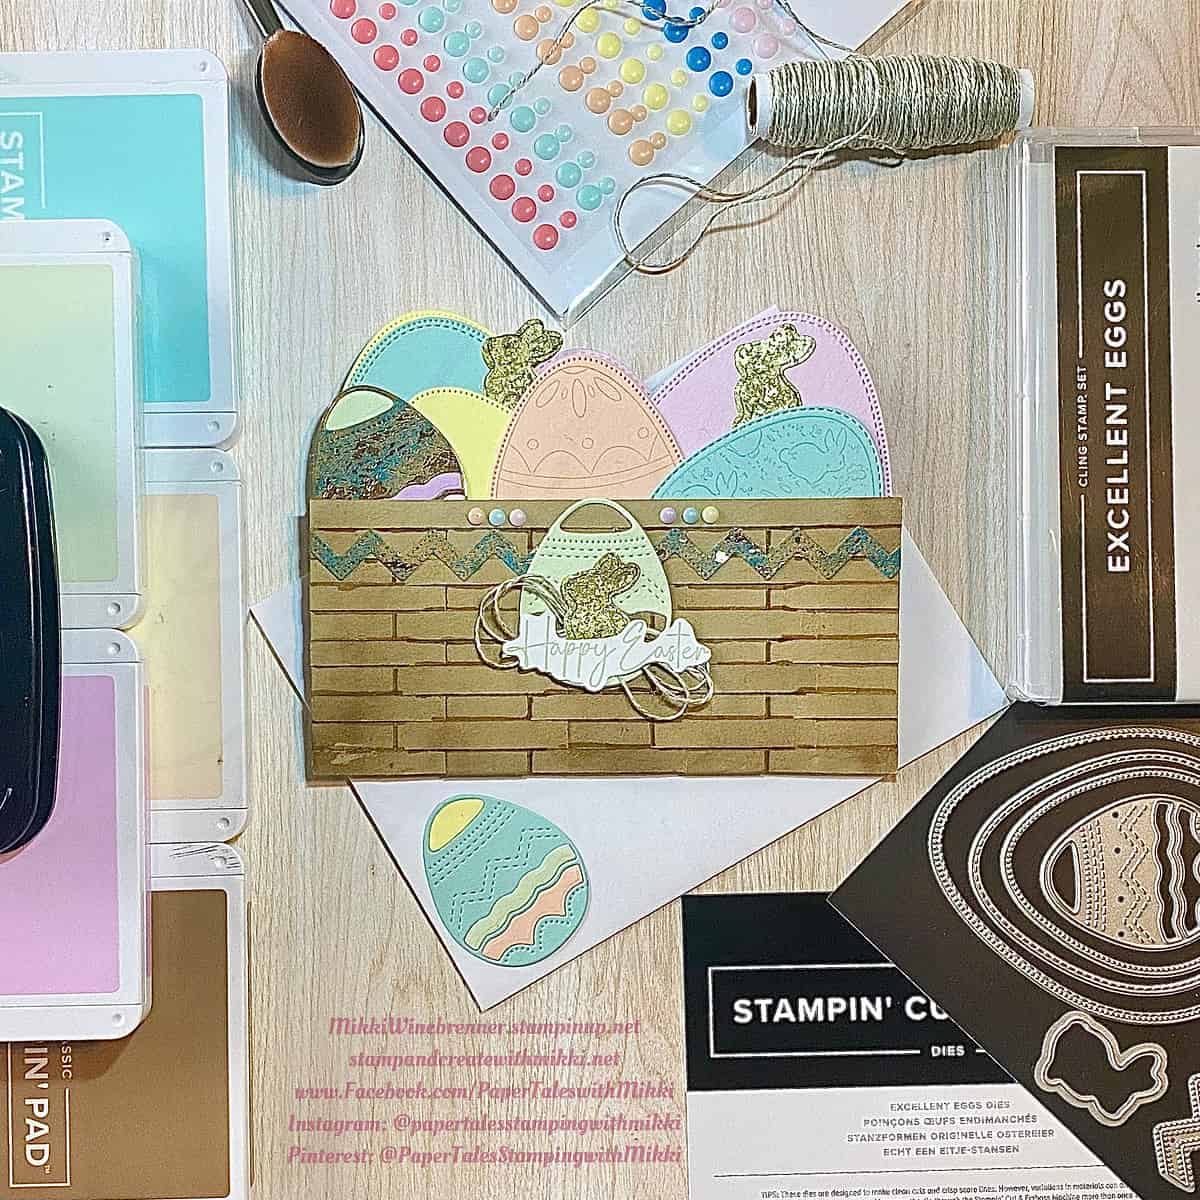
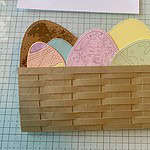
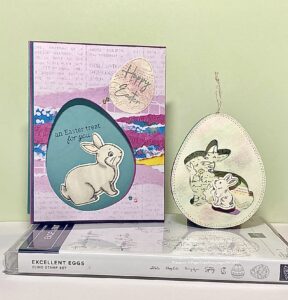
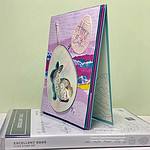
I wanted to kick off the Easter week with something unique and fun. With that said I have for you this really awesome card using Stampin’ Up! Excellent Eggs Bundle and a fun Basket Weave technique!

Let’s just dive right in with this card. I didn’t get all the pictures I wanted to for this process, I admittedly was to excited that it was working and going so well!!🤪
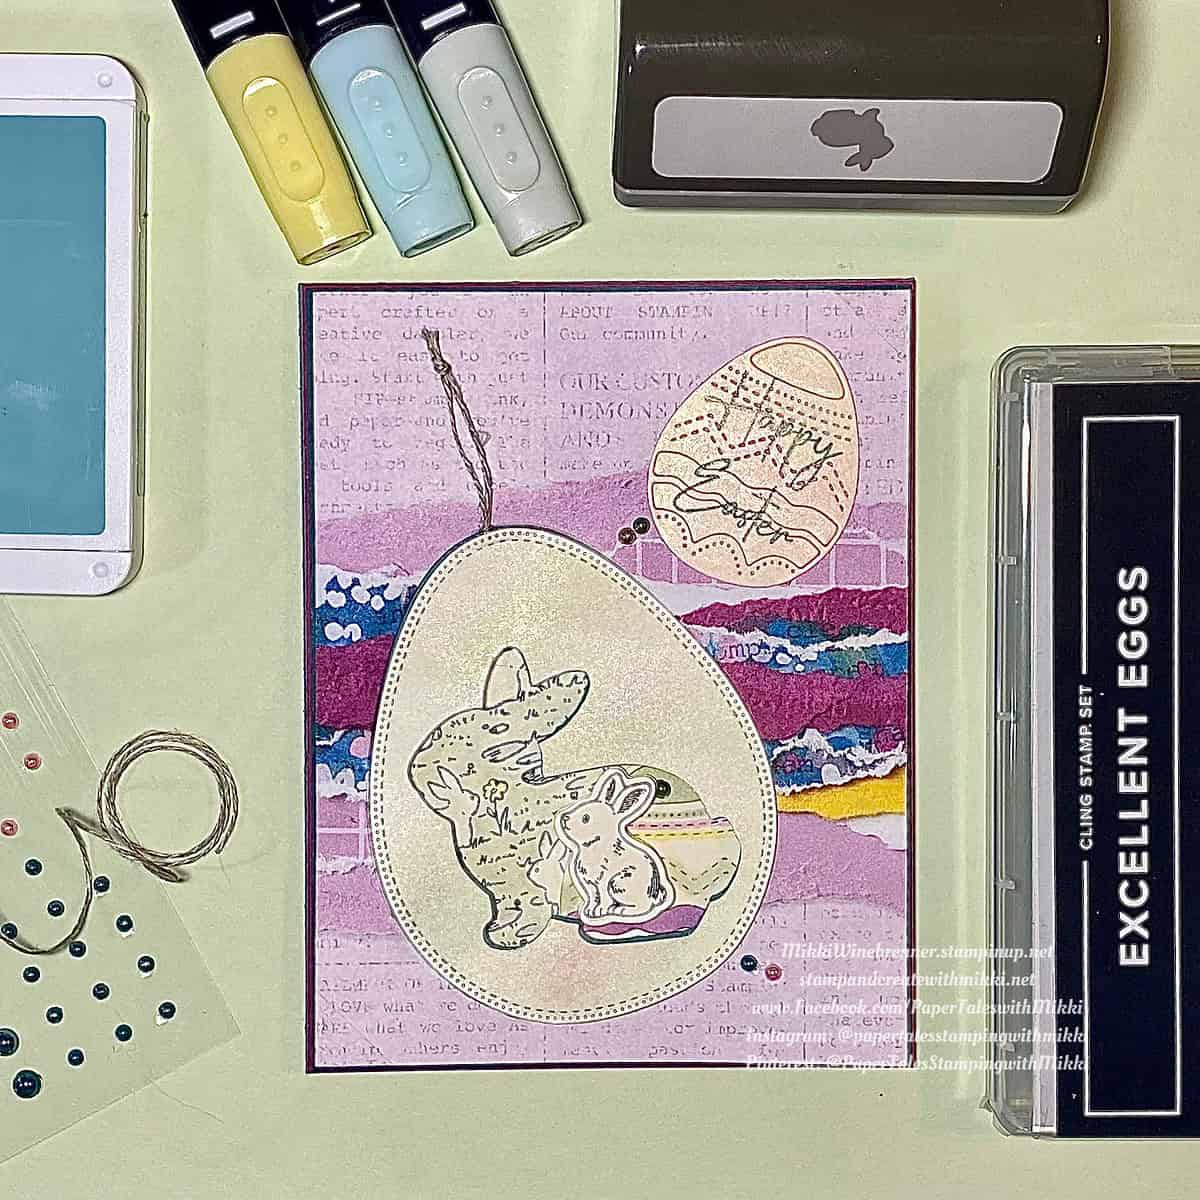
Some of the products you will need are: Excellent Eggs Bundle, Small Blending Brush, Stampin’ Cut & Emboss Machine, StazOn Jet Black Ink, Soft Sea Foam, Pool Party, Bubble Bath, Petal Pink and Pecan Pie Classic Stampin’ Pads, Rainbow Adhesive Dots and Linen Thread. I will have a complete list below with links to them directly in our store.
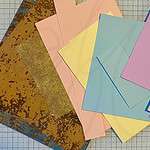
I didn’t mention paper needed because there is actually a lot of paper, or it seems like a lot at least. Here is what was used in my card, the colors of ink and paper are truly a preference though. My goal was spring pastel colors but you can change things up to however you want to. The measurements will be the same and that is the important part!!😉
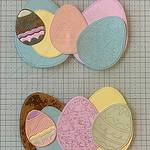
Cardstock: Scraps of Pool Party, Lemon Lolly, Petal Pink, Bubble Bath, Sea Foam Green and Fresh Freesia.
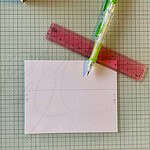
Basic White 8-1/2” x 11” Cardstock: 2” x 5-1/4” (x2), scrap for sentiment
Scraps of Oxidized Copper 12” x 12” Specialty DSP and Distressed Gold Paper
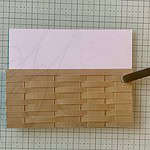
Crumb Cake 8-1/2” x 11” Cardstock: 1/4” x 5-1/2” (x25) and 3/4” x 5” – scored at 2-/2” (x5)
Pecan Pie 8-1/2” x 11” Cardstock: 2-1/8” x 5-1/2”
For the basket, I have a quick video for you. It’s not hard at all just complicated to try and explain through words. Being a visual person myself, I always find “show me” to be the best option when possible! 🙃
In this video I am using Tahitian Tide, Parakeet Party and Starry Sky cardstock. I wanted to make it bright and different colors so you could see it better than the crumb cake.
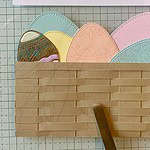
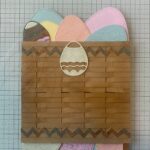
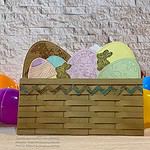
After I assembled my basket of eggs I had this really big feeling that I forgot something. Sure enough, I absolutely did forget a rather important step 🙊
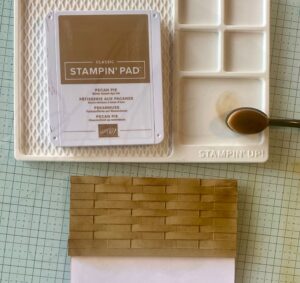
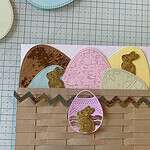
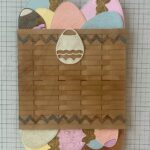
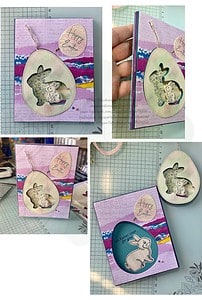
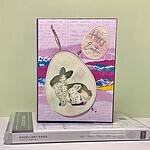
BEFORE you add the eggs to the card, grab a small blending brush and apply some Pecan Pie to the edges of the basket. The goal is to give it depth and make it look less flat. At the very end you will see that I have add lines under some of the pieces, I was attempting shadows that you would find in the layers of the weave. It didn’t end up perfect however the effect is still there.
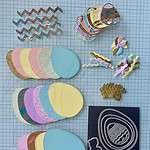
Let’s get to the rest of the card and cut out some eggs! LOTS OF EGGS!!


I had a couple of moments of pure UH OH happen at this point in the card. Scary how happens when your almost done!
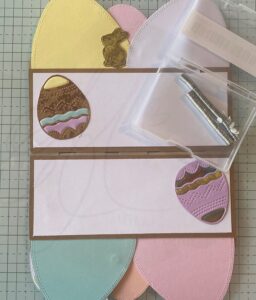
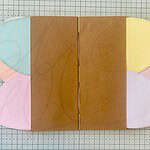
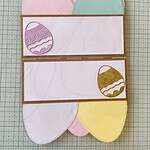
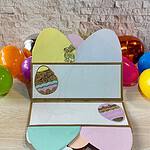
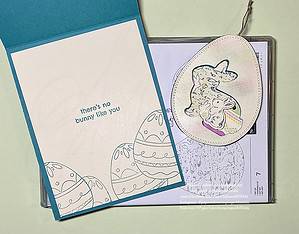
First the actual UH OH I had was that I placed one of the inside panels on upside down. Yup I’m awesome that way and we are just gonna leave it and see if the recipient notices!! 🤦🏼♀️
Second was more of a smack of forehead – How is the card going to stay closed? Brilliant time to think of that right!! A quick fix for this was to add little itty bitty magnets to the inside. Not everyone has this microscopic thingys just laying around so another option would be to actually tie a ribbon around it when you are completely finished. 🫣

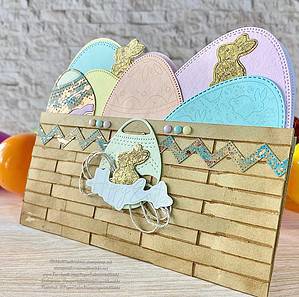
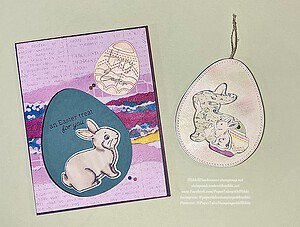
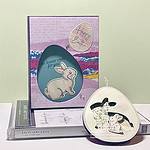
To finish off the front of the card, I stamped Happy Easter in Soft Sea Foam and fussy cut it out and attached an extra gold bunny behind the sentiment with some Linen Thread to the back of the bunny. Attach the entire sentiment piece to the bottom of the egg we attached earlier. Lastly, I added in some Rainbow Adhesive-backed Dots to the top of the basket for just a little extra decoration.
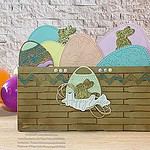
And that is the creation of my Egg Basket Easter Card!
I hope this inspires you for any last minute card ideas you might need. I will be getting a few more Easter/Spring cards up this week to help get you inspired for Spring!!
Thanks for hanging out with me today! Please reach out with any questions. I know I threw a lot out at once! I do not have a PDF for this particular design, but if requested I will certainly get one written up!
Happy Stamping!!
Product List


")


 Specialty Designer Series Paper")
 Specialty Paper")


Ink
- Petal Pink Classic Stampin’ Pad [147108]
- Pool Party Classic Stampin’ Pad [147107]
- Soft Sea Foam Classic Stampin’ Pad [147102]
- Jet Black Stāzon Ink Pad [101406]
Card Stock
- Petal Pink 8-1/2″ X 11″ Cardstock [146985]
- Pool Party 8-1/2″ X 11″ Cardstock [122924]
- Soft Sea Foam 8-1/2″ X 11″ Cardstock [146988]
- Crumb Cake 8-1/2″ X 11″ Cardstock [120953]
Tools & Adhesive
- Multipurpose Liquid Glue [110755]
- Paper Snips [103579]
- Clear Block Bundle [118491]
- Bone Folder [102300]
Ribbon & Trim


 Designer Series Paper")
