12 Days of Christmas Projects!

I am very much behind the clock with my 12 Days of Christmas project for you all. We started on December 5 over on Facebook and Instagram. Life has been super chaotic and I haven’t had a chance to get them up here for you guys. I will correct this over the weekend!!

I will group these together in 3 day batches to make this simpler. I am working on a full Tutorial for all the projects. I am using a new program for that and it’s definitely been a learning curve but I’m slowly figuring it all out.

Lets dive straight into the first 3 days of our 12 Days of Christmas Projects!
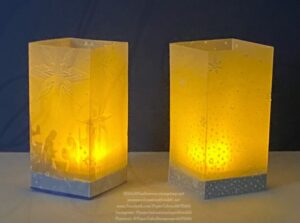
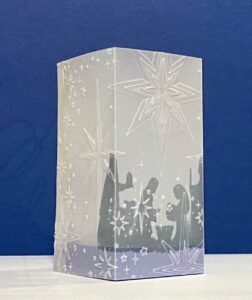
Day 1 of our 12 Days Of Christmas Projects, I wanted to keep things simple for our first one. These luminaries are not only gorgeous but super simple to make and take very little materials.

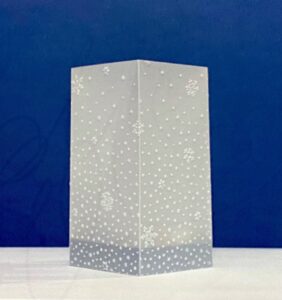
Luminaries are actually a fun project in general, not just during the Christmas season but year round. You can customize these to whatever holiday, special occasion or favorite things (😉 snowflakes are my favorite!)

I was very excited how they turned out, especially the star one, that was a last minute lets try this idea! The manger scene is actually the negative of a die that I used as a stencil! I will have a tutorial for you on everything you need to know about this project, including how I did that silhouette!
—————————————————————————————————————————
Day 2 of 12 Of Christmas Projects!
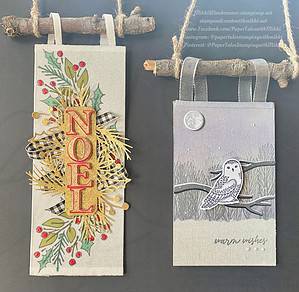
This second project is a simple hanging sign for your home or as a gift. There is a little story behind these, I wanted to do a simple hanging, as you can see they absolutely exploded 😂! (I posted these a little later then planned, time management sometimes is not my friend!)

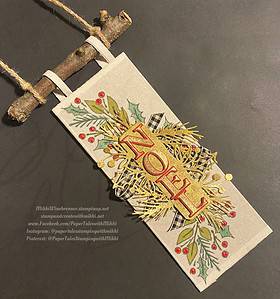
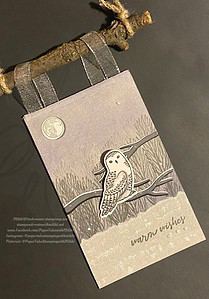
They are fairly simple to create. The paper I used (Linen Specialty Paper )for both of these is sadly no longer available but you could use any of our gorgeous Designer Series Paper, or any of the specialties to create a backdrop for your design. I also used an actual stick that Miss Daisy helped me find in our yard (she was slightly offended that I brought it inside 🤣) as the hanger.

The NOEL hanging is shimmery and bright, perfect for the festive season. The Warm Wishes hanging is more winter, calm, peacefulness and warmth.

I was really wanting you guys to see how you can take any project you find, a pattern, and idea on Pinterest, something you want to CASE from me, you can change things up completely and make it yours!
—————————————————————————————————————————
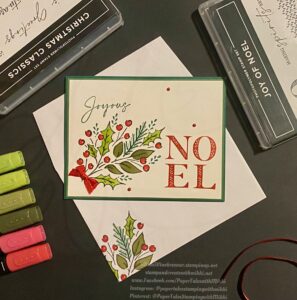
Day 3 of our 12 Days of Christmas Projects!

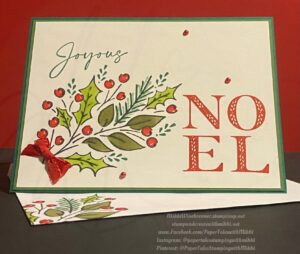
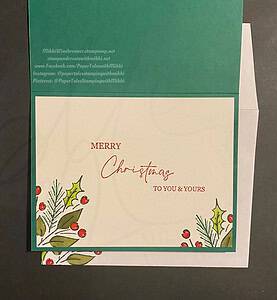
This project we are kicking  it back old school with just Stamps Ink and Paper and a few embellishments of course. Speaking of embellishments, please note there is a tiny red bow on the card front. I did that! Without the assistance of a fork! Its the little things sometimes 🙃

This card was fun to create. It’s nice to fall back to the basics, regroup your mind and inspiration.

General overview of this card, I used the Joy of Noel stamp set. I also used our Stampin’ Blends for the coloring.

This card would be super simple to create in large quantities. Simple yet elegant, just the way it should be.
—————————————————————————————————————————

I had an awesome big brain moment and figured out how to share a link to the file for the tutorials! I truly need an adultier adult sometimes!

Here is the link to the file: 12 Days of Christmas Project Tutorials

As I get new ones completed the file will automatically update and I will let you know when that happens so you can grab it!

These tutorials are FREE, a gift from me to you for the holidays and hopefully future special occasions!

I will get the rest of the projects uploaded here hopefully tomorrow!

Happy Stamping!!
Stamp It Group Christmas Holiday Blog Hop

Thank you for joining me today for our Christmas Holiday Blog Hop! I am excited to have you here!

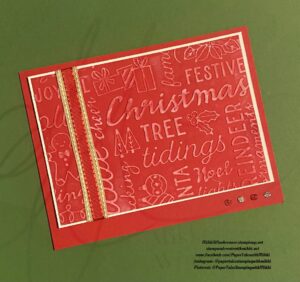
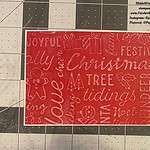
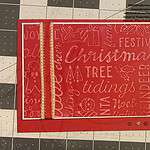
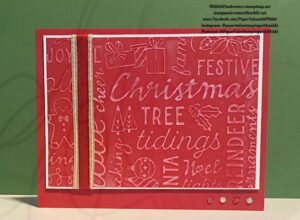
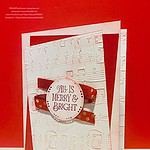
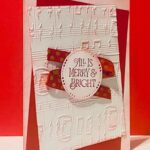
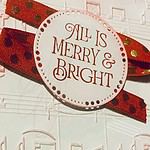
My name is Mikki Winebrenner and today I have a fun and simple Christmas card for you using Stampin Up Christmas Tiding Embossing Folder. 

Christmas is my favorite time of year. I love the colors, smells, family and pretty much everything about it! Especially the snow!! I also know all too well how busy this time of year is. 

For our card today I wanted to keep things as simple as possible. Anything to make things a little easier to help spread the Christmas Cheer. 

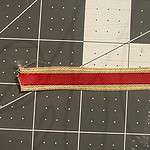
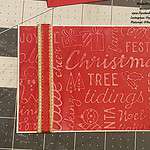
For this card all you need is: Basic White and Cherry Cobbler Cardstock, Ribbon, Craft White Stamp Pad and your Stampin’ Cut and Emboss Machine. 

Lets dive in!

Measurements are: 

Real Red 8-1/2” x 11” Cardstock: 4-1/4” x 11”, 3-1/2” x 5”

Basic White 8-1/2” x 11” Cardstock: 3-5/8” x 5-1/8”, 4” x 5-1/4”

Super simple but festive and fun. You could easily change up the colors to any combination you want and even add different embellishments to give it bright colors. 

I hope this helps to inspire you for some super simple cards for your holiday needs!

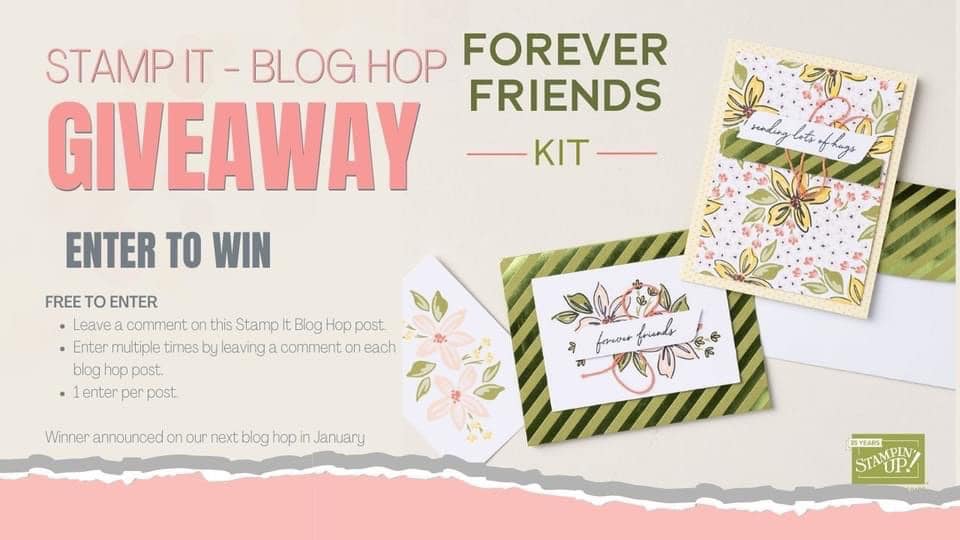
Make sure you drop a comment below for a chance to win Stampin’ Up! Forever Friends Kit. 

Congratulations to last months winner!

Follow the links below for some more amazing Christmas inspiration! 

Happy Holidays!

Product List

Stamp It Group Halloween & Fall Blog Hop

Welcome everyone to the Stamp It Group Halloween and Fall Blog Hop!! My name is Mikki and I am super excited to have you all here today!

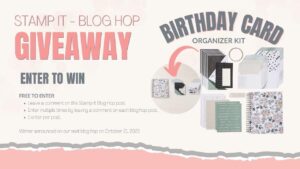
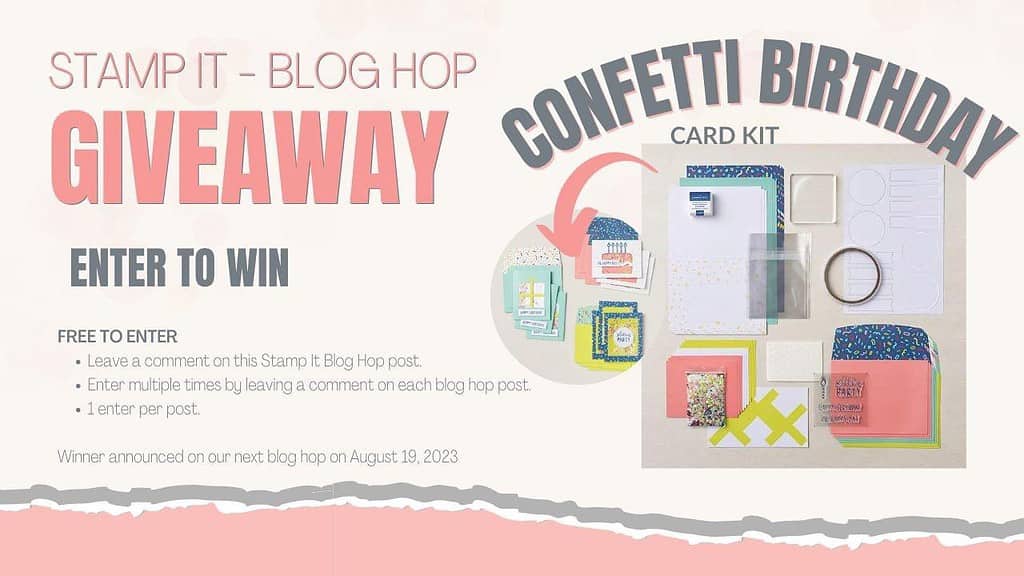
Please leave a comment below in the comment section to have your name entered into this months giveaway of a Birthday Card Kit!

Most people who know me know that I am not a fan of Halloween 🎃. I would much rather be setting up my Christmas Tree than watching anything spooky. Now my kids and sister LOVE Halloween. I’m not sure where I went wrong with them 😂 

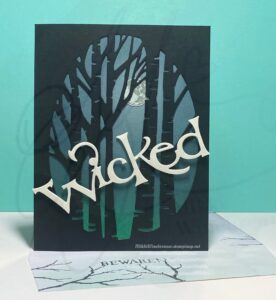
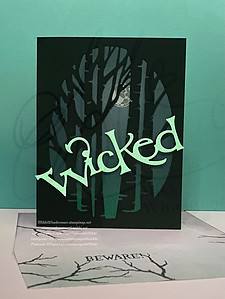
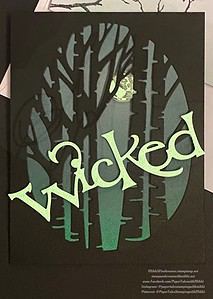
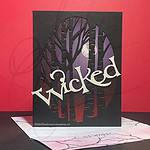
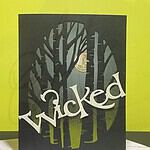
We had a choice of doing Fall theme for this hop but I decided to take myself out of my comfort zone and try to use what I had on hand to create a spooky Halloween Card. I think I succeeded! Boy does this card have a cool feature to it too! 

Lets dive right into it!!

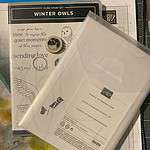
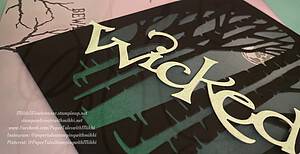
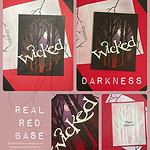
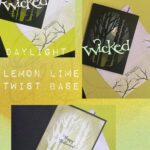
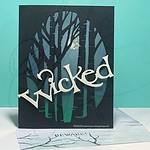
You can see from the photo that we are using 1 retired product. The Wicked Dies from I believe 2020. I only have a handful of Halloween anything and this die just happens to be one I purchased for my sisters Hallowedding. You can easily replace the sentiment “Wicked” with anything you want. 

Paper Dimensions are pretty basic, nothing fancy. 

Basic Black Cardstock base: 5-1/2” x 8-1/2” scored at 4-1/4”

Coastal Cabana Cardstock : 5-1/2” x 4-1/4”

Basic Black Cardstock: 5-1/2” x 4-1/4”

Basic White Cardstock: 5-1/4” x 4”

You will also need a scrap piece of White Cardstock for the moon.  I do have a full list of products used below with links to them in my store. 

This card has a lot of little details but stay with me. It will be worth it. I promise! Normally I would a printable PDF for you but due to time constraints and family obligations I have not created one yet. I can most definitely get one up later on if you all want it to refer to later!!

Step by Step on how I created this beauty: 

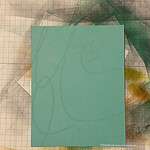
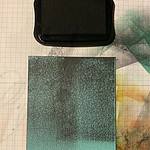
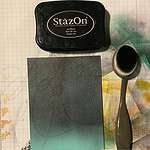
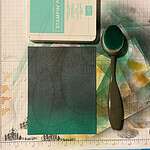
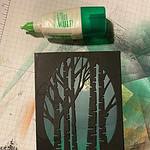
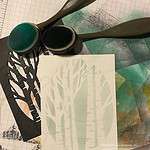
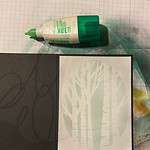
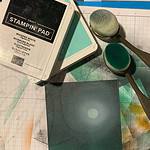
I want to add a quick note here about the ink choices. You have to use a StazOn or alcohol based ink for the black color. If you do not, when you use the regular colors such as the Coastal Cabana, the black will just transfer into the brush and discolor everything!

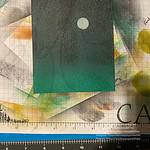
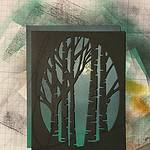
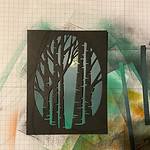
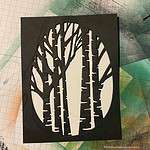
Cut our the Aspen Tree Die onto the 5-1/2” x 4-1/4” Basic Black piece. Someone forgot to photograph the cutting process, but we’re gonna skip over those facts 🤣 I would also advise cutting 2 of these. You’re gonna need a mask later on. 

For the sentiment, I cut out the Wicked die on the 6” x 6” Glow In the Dark Specialty paper that is in our current Mini Catalog. 

I placed it onto the card front with dimensionals to add a little pop to it. 

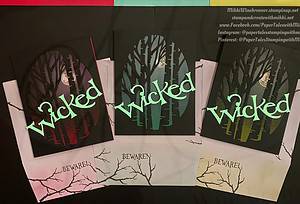
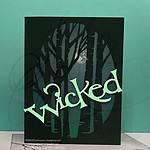
For the final reveal!!! Does it glow??

Of course it glows in the dark on a Wicked Spooky Night!!!

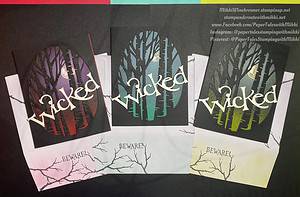
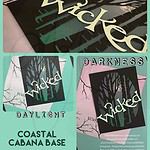
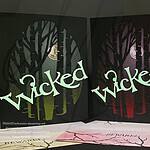
Now I went bonkers with the way this turned out and created 3 different cards in 3 different colors because why not make more experiments! **Insert Stitch evil laugh here**

I surprised myself and am very pleased that the experiments where successfully brought to life!!

These were a lot of fun to make!

Real Red, Coastal Cabana and Lemon Lime Twist
Are the sooOOoo Cool or what??!!!!

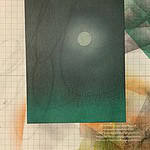
While editing the photos, my brain went “WAAIIT… Can the moon glow too?” Well, once the idea was in my head of course I had to try it!!

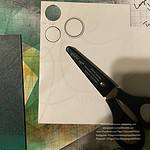
The moon can definitely GLOW bright on a “Wicked” night! Use StazOn for the moon stamp on the Glow in the Dark Paper to prevent smudges!

I hope this crazy adventure of mine has helped inspire you! I have learned that the power of creativity is a beautiful thing! It allows you to take what you have and create something unique and totally different!! 

Don’t forget to leave a comment below to be entered into this months giveaway of a Birthday Card Kit! What a fun little kit this is too!!

Congratulations to last months Winner!!

Follow the links below to continue this journey of inspiration for Spooky and Gorgeous ideas!! Be sure to leave a comment on all the blogs you visit! Each comment gives you a chance to win!

Happy Halloween Everyone!!


Shop With Me Here

Product List

Fall blog hop

Welcome to Stamp It Group Fall Blog Hop!

Thank you for joining me today as we begin to welcome Fall! I am excited to have you here!

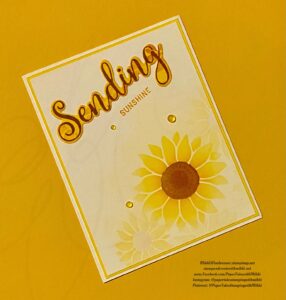
My name is Mikki Winebrenner and today I have a fun and simple fall themed card for you using Stampin Up!  Abundant Beauty Decorative Masks. These masks will make their big debut September 6th, 2023 in the new Mini Catalog. 

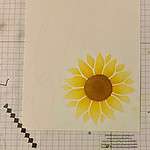
Fall is one of my favorite seasons. When I think fall one thing that comes to mind is our big Sunflower Festival. I love walking through the sunflower fields and seeing them in full bloom. They are just absolutely gorgeous!

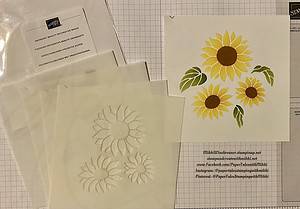
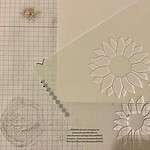
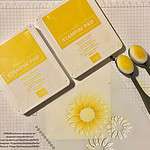
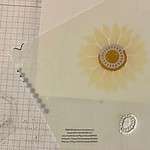
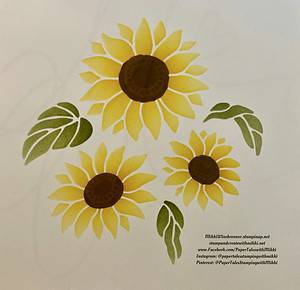
In the Abundant Beauty Decorative Masks there is a 4 part sunflower that I thought would be perfect not only for the sunflower card but as a way for you to see these masks in action! 

I will cover the process of how I used the masks for this card but the rest of the details on putting the card together can be found in the full printable PDF available for your use at a later date as well as a full product list with links below.

To begin with the card you will need Basic White Cardstock and Daffodil Delight Cardstock.

Cutting & Scoring:

Basic White 8-1/2” x 11” Cardstock : 5-1/2” x 8-1/2” scored at 4-1/4”

Basic White 8-1/2” x 11” Cardstock : 4” x 5-1/4”

Daffodil Delight  8-1/2” x 11” Cardstock: 4-1/8” x 5-3/8” and 4” x 2”

After cutting out the sentiment and attaching the card front together we are done!

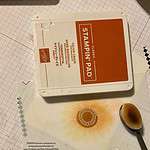
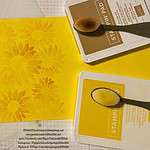
A quick tip on the masks, especially this set of 4 with the sunflowers. There is a notch in the upper left hand corner for you to mark and be able to line up the layers flawlessly. They’re also numbered which was brilliant! Thank You concept artists for that little detail!

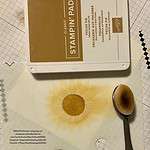
The photo above is a sample I did when playing  around to see how the layout worked. The beautiful thing here is you can move those masks around on your paper to create different designs each time. This was how I created that background paper as well as the inside of the card. 

I hope this card inspires you for not only a fall card idea. Below is the full PDF download for you to check out any time. 

                                   👇🏻Downloadable PDF👇🏻

Fall Blog Hop – Abundant Beauty Sunflower Card

I hope you enjoyed my project! I’ve really enjoyed “hopping” with you all!

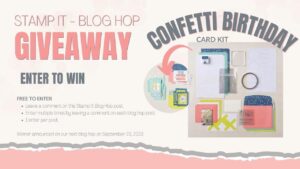
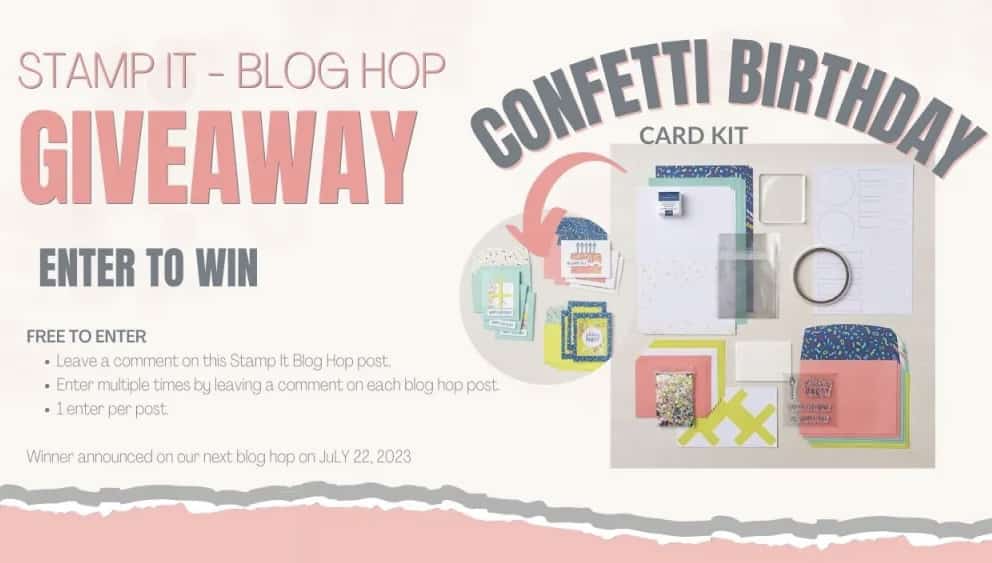
Please make sure you leave a comment to be entered to win Stampin’ Up Confetti Birthday Card Kit!

Congratulations to last months winner:

Visit each of the blogs on this hop and comment on them as well for more chances to win!

Happy Hopping

Product List

Stamp It Group Christmas in July

Welcome to Stamp It Group Christmas In July Blog Hop!

Thank you for joining me today for our Christmas celebration! I am excited to have you here!

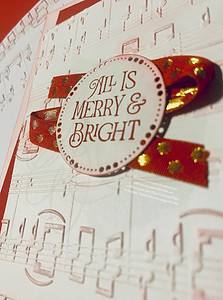
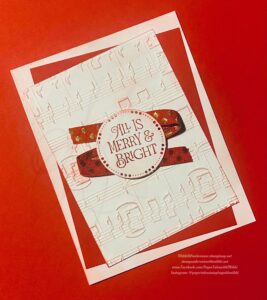
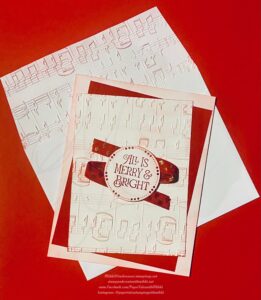
My name is Mikki Winebrenner and today I have a fun and simple Holiday card for you using Stampin Up Merry Melody 3D Embossing Folder. 

I love Christmas, it’s by far my favorite time of the year. I must ask one question… Can I put my decorations out now??

For our card today I wanted to keep things as simple as possible. Simple and elegant to offset that sudden realization that Christmas is only 6 months away!

I did not take step by step photos this time so I will give you a run down of the paper sizes. I have a full printable PDF available for your use at a later date as well as a full product list with links below. 

Cutting & Scoring:

Basic White 8-1/2” x 11” Cardstock : 5-1/2” x 8-1/2” scored at 4-1/4” 

Basic White 8-1/2” x 11” Cardstock : 3-1/2” x 4-3/4”, scrap piece for sentiment

Real Red 8-1/2” x 11” Cardstock: 3-3/4” x 5”

As I said, this card is super simple to make with minimal stamping required making this a great idea for mass production. 


                                   👇🏻Downloadable PDF👇🏻

Christmas in July Blog Hop – Stamp It Group

I hope you enjoyed my project! I’ve really enjoyed “hopping” with you all!

Please make sure you leave a comment to be entered to win Stampin’ Up Confetti Birthday Card Kit!

Visit each of the blogs on this hop and comment on them as well for more chances to win!!

Congratulations to last months winner!!

Head on over to the next blog by clicking “Next Blog” below to find more Holiday Themed card creations!

Happy Hopping!!

Team Stamp It – July 2023 – Theme: Christmas in July


Product List

Summer Fun Blog Hop

Welcome to Stamp It Group Summer Fun Blog Hop!

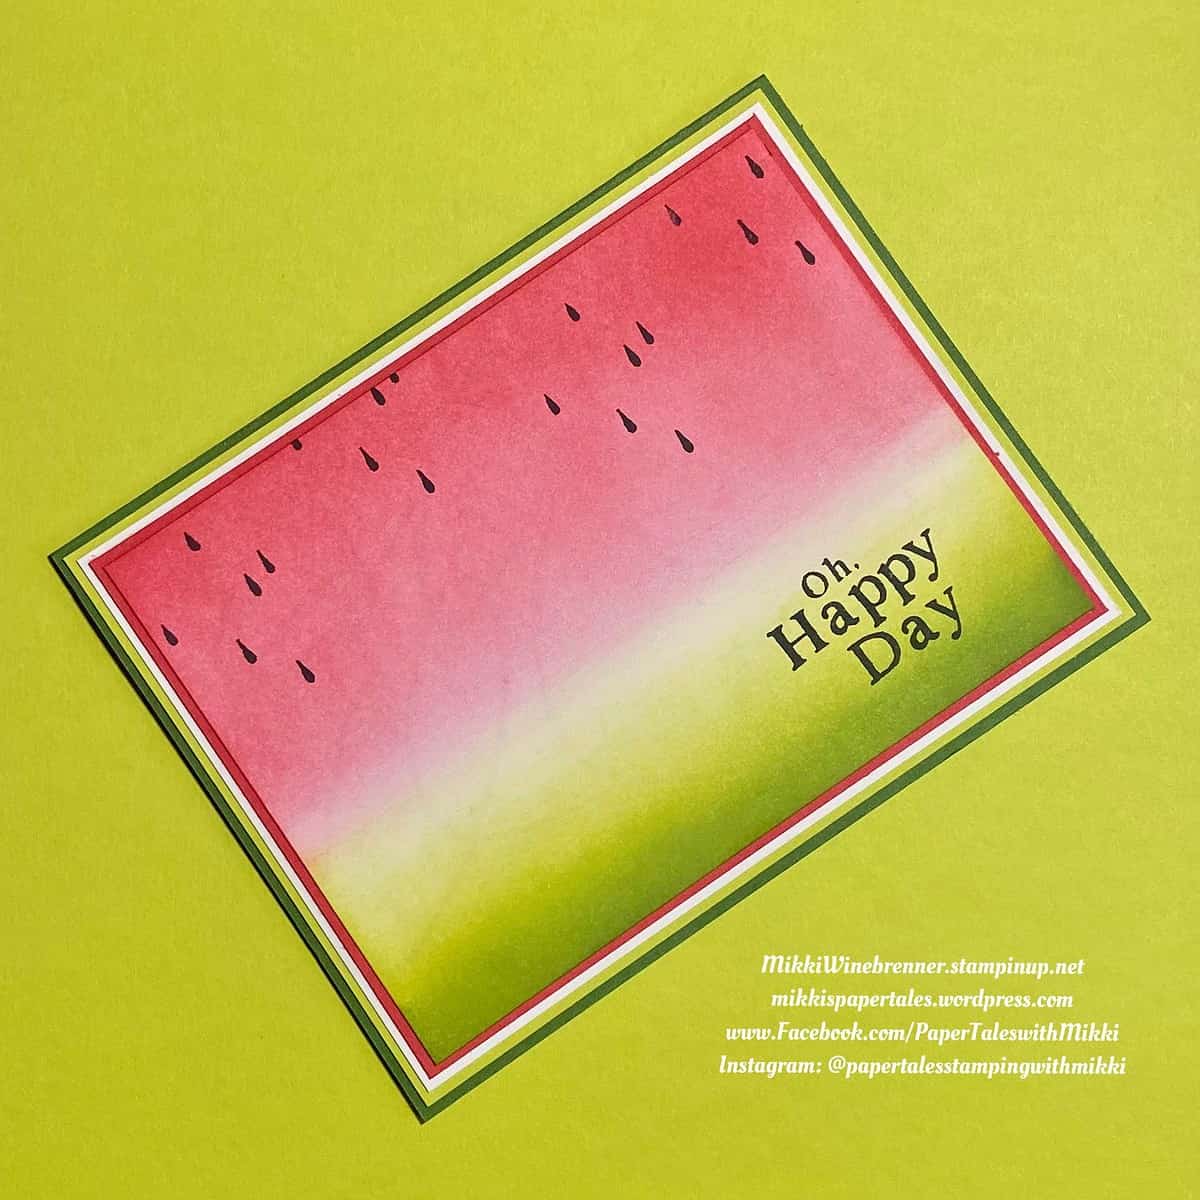
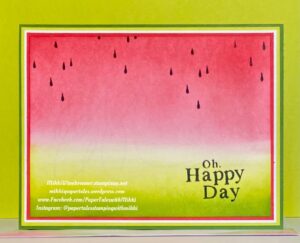
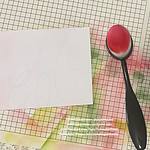
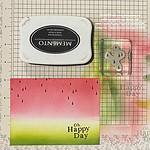
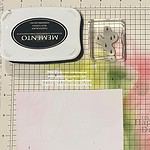
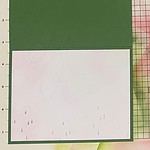
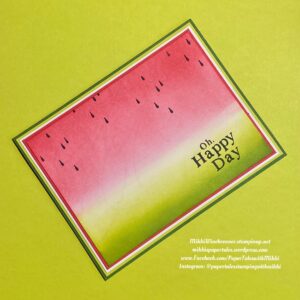
I’m super excited to have you all here on my new blog! Today I have a very fun and very summery card for you using Stampin’ Up!’s Playing in the Rain Stamp Set. 

What says summer more than a delicious piece of ice cold watermelon? This is a hot commodity at my house especially on these hot summer days and definitely popular during our 4th of July festivities! My kids, myself, and even my dogs love to enjoy a piece of this deliciousness all summer long!

This was my inspiration for this card and as we do not technically have any watermelon type sets, I got creative. The seeds you see are actually rain drops from the Playing in the Rain Set!

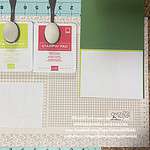
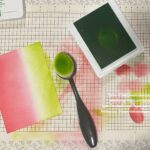
Let me give you a little more detail on this card. There is a full PDF below for you to download with all the measurements and products used as wall as instructions for this card. 

And there you have it! I simple yet adorable Summer time card to share with your friends and loved ones! 

              👇🏼 Downloadable PDF 👇🏼

Summer Fun Blog Hop

Thank You for joining me today! I hope I have inspired you into making some fun creative summer cards!

Don’t forget to leave a comment below to be entered in the Stamp It Blog Hop Giveaway : Confetti Birthday Card Kit!

Congratulations to last months winner!

Happy Hopping!!
 

Product List