

Welcome to Stamp It Group Christmas In July Blog Hop!
Thank you for joining me today for our Christmas celebration! I am excited to have you here!
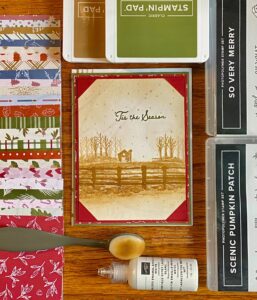
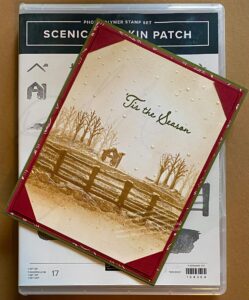
My name is Mikki Winebrenner and today I have a fun and simple Holiday card for you using Stampin Up Online Exclusive stamp set Scenic Pumpkin Patch.
Yup you read that right, I used a fall set to create this nostalgic feeling Christmas card front. I wanted to keep things as simple as I could and using a stamp set in different ways is always a great way to save time and money!
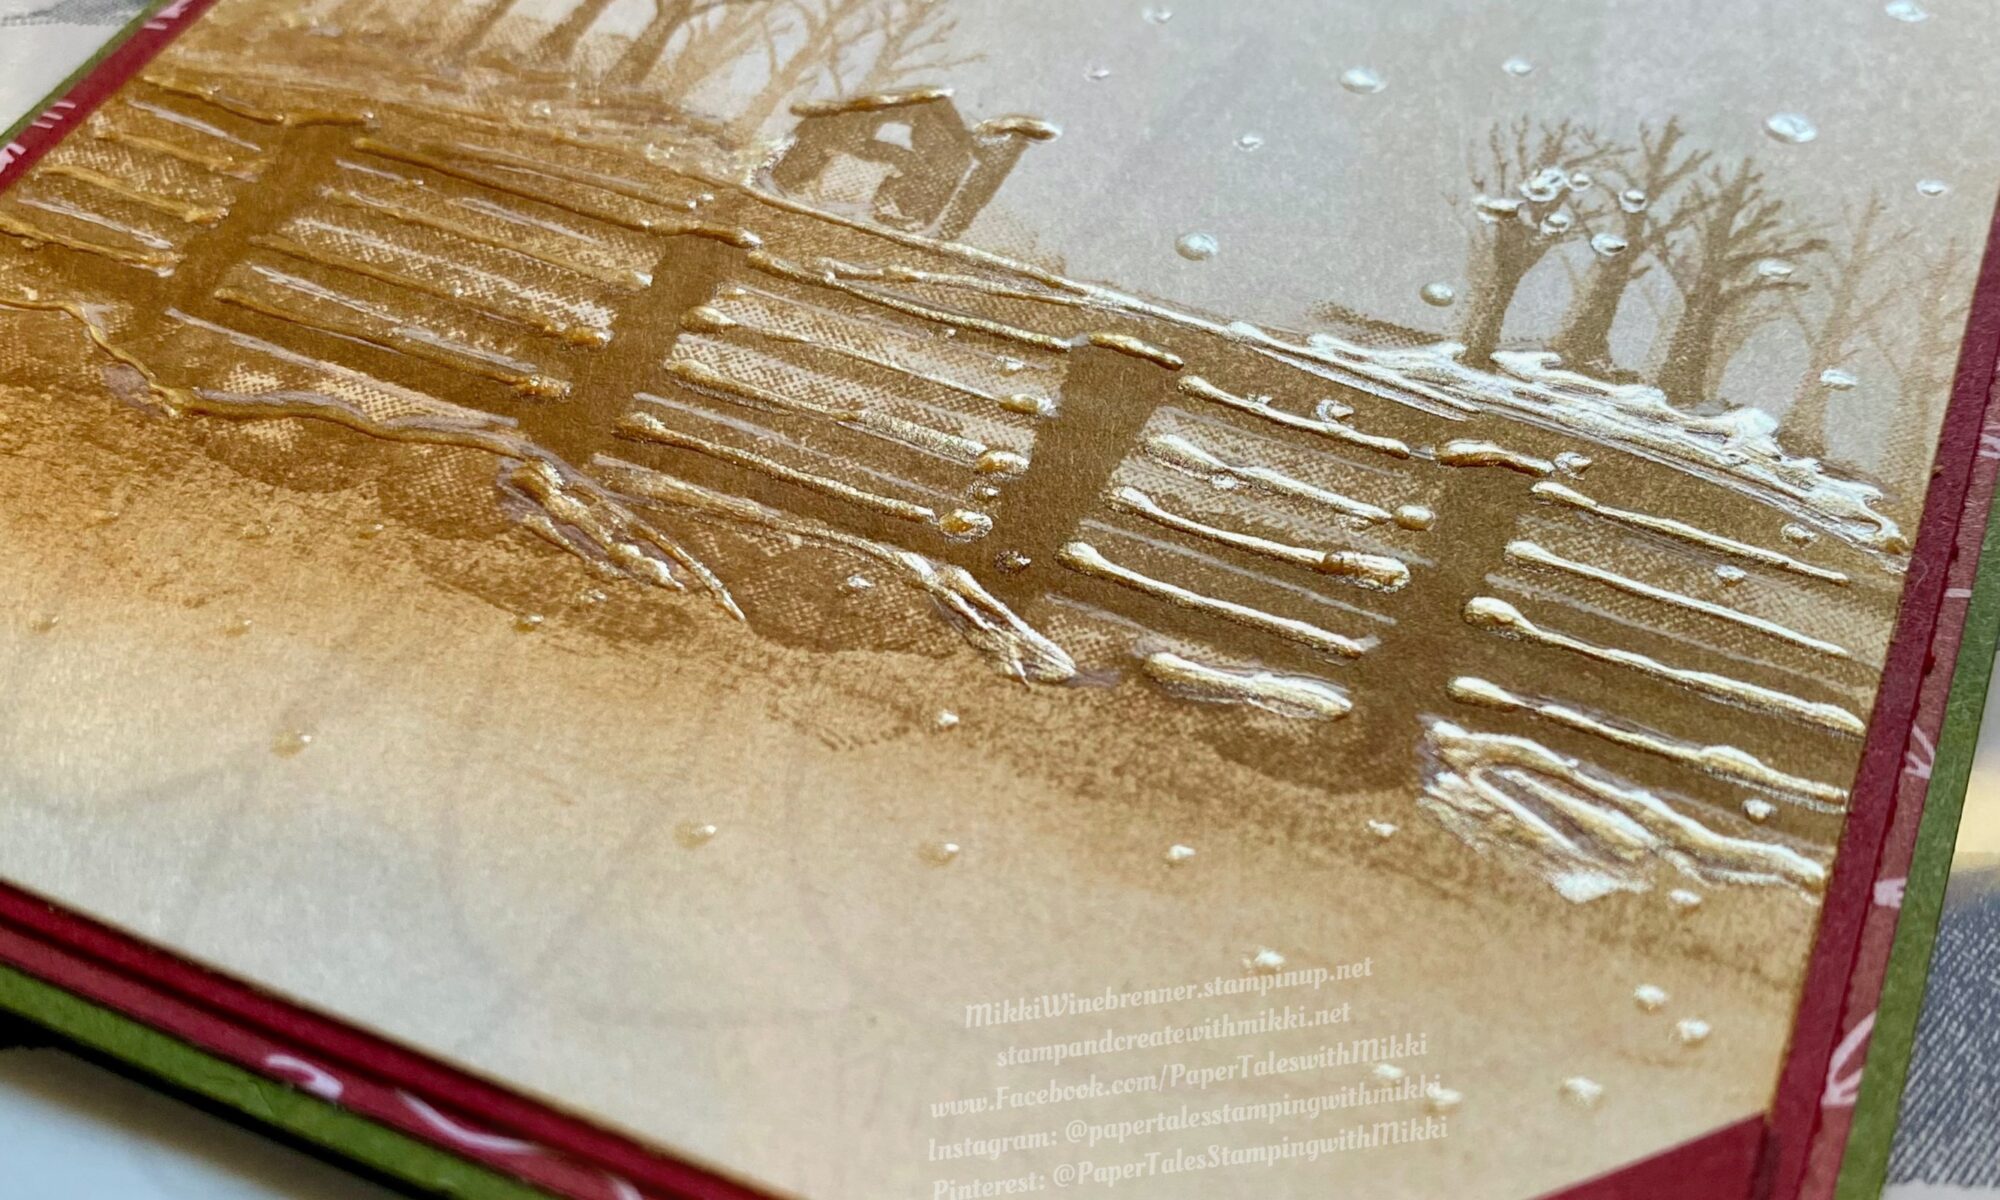
Christmas is my favorite holiday and I am already asking if I can put my decorations up and when is it going to snow! Speaking of snow, if you look close you can see a little bit of snow throughout this card. How did I make this happen? White Pearlized Enamel is how!!
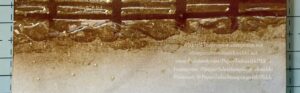
I did not take step by step photos of the process of this card. I did however grab one so you could see how I stamped things out before putting it all together.
Lets jump on into the details!
Cutting & Scoring:
Mossy Meadow 8-1/2” x 11” Cardstock: 5-1/2” x 8-1/2” scored at 4-1/4”
Iconic Celebrations 6” x 6” DSP: 4-1/8” x 5-3/8”
Basic White 8-1/2” x 11” Cardstock : 4” x 5-1/4” (x2), 3-3/4” x 5”
Cherry Cobbler 8-1/2” x 11” Cardstock : 4” x 5-1/4”, 1” x 1” cut diagonally to make 4 little triangles.
There is a full list of products below with links and product numbers. There is also a full list of product and the measurements on the PDF file.
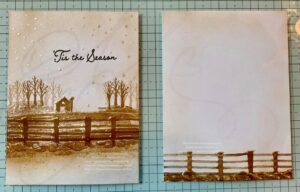
In the photo above you can see that I stamped all the images with Pecan Pie ink. In some places I used second generation stamping and in others places, such as the fencing, I actually stamped the images twice to make it darker.
I used the cloud stamp in the set in front of the fencing to give it a feel of piles of snow around the fence line or falling onto the side of a dirt road.
Then I added a little but of Pecan Pie along the edges of the entire piece to give it the sepia effect.
Fun fact! Or trick, I’m not really sure which way it goes but, on the bottom portion of the snow on the fence I used my finger to blend the ink in to give it a better transition and smooth out the harsh lines! A little messy but super effective.
I also used the fence stamping on the second piece of white for the inside of the card. Again, with the blending brushes adding in a little hint of color for an old paper feeling.
Stamp the sentiment with Mossy Meadow above the trees. The sentiment I used is from the Online Exclusive set So Very Merry.
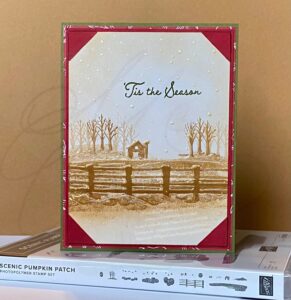
For the snow look I used the White Basic Enamel along the snow lines or any lines that looked like they needed to pop a bit. I also added some to the top of the fence posts, barn and corners of the trees.
Last for the enamel I did small dots all over the card to give a snowfall look. Let the enamel dry for just a few minutes. The thicker the enamel is the longer it takes to dry.
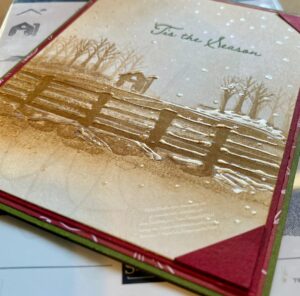
Once you assemble the card front, I just added on those little triangle pieces in the corners to give it more of a photo effect. You do not have to do this step, it looks great with or without them!
That’s all there is to the card. I do have a PDF file for you to download and print.

Christmas in July – Stamp It Group Blog Hop
Here is the video showcasing the creation of a handmade Sepia Christmas card, as requested by my followers. Watch as the intricate details come to life in this festive and personalized creation. Spread holiday cheer with a touch of creativity and spirit while repurposing a fall stamp set.
I hope you enjoyed my project! I’ve really enjoyed “hopping” with you all!
Please make sure you leave a comment to be entered to win Stampin’ Up Birthday Sparkle Kit!
Visit each of the blogs on this hop and comment on them as well for more chances to win!!

Congratulations to last months winner!!

Head on over to the next blog by clicking “Next Blog” below to find more Holiday Themed card creations!
Happy Hopping!!
Product List


")
 Designer Series Paper")
")


Ink
Card Stock
Tools & Adhesive
- Multipurpose Liquid Glue [110755]
- Paper Snips [103579]
- Clear Block Bundle [118491]
- Bone Folder [102300]
Ribbon & Trim